HIBISCUS Plant Nutrients It is generally accepted that a balanced formula of commercial fertilizer and a maintained soil pH will give the cheapest and most stable fertility to hibiscus. A soil pH of 6 to 7 would be ideal for growing hibiscus. The chemistry of fertilizers and their reaction with
the soil is complex, but the essential facts and
principles can be understood by the home gardener. This
chapter is written for the purpose of enabling the
amateur gardener and hibiscus grower to shop for
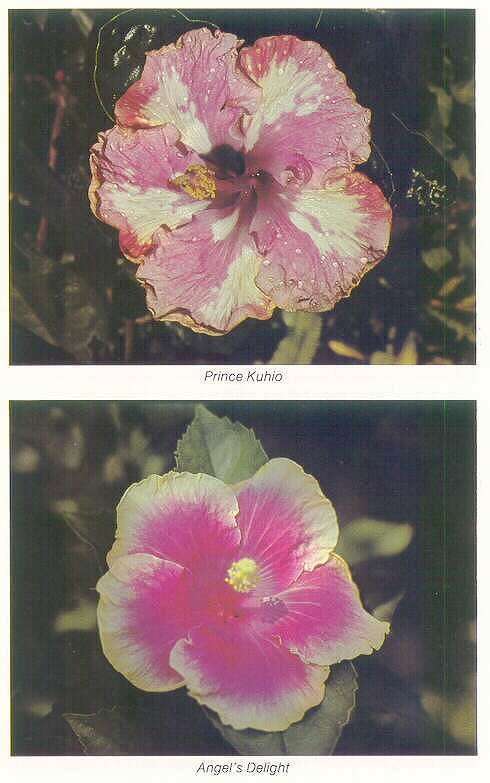
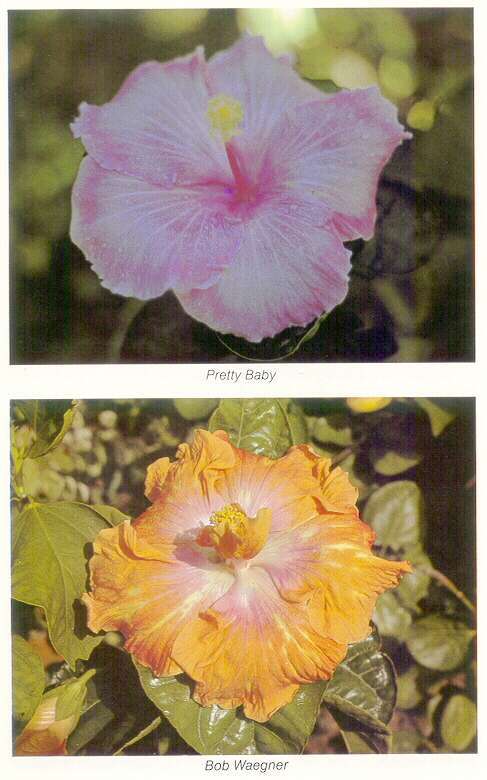
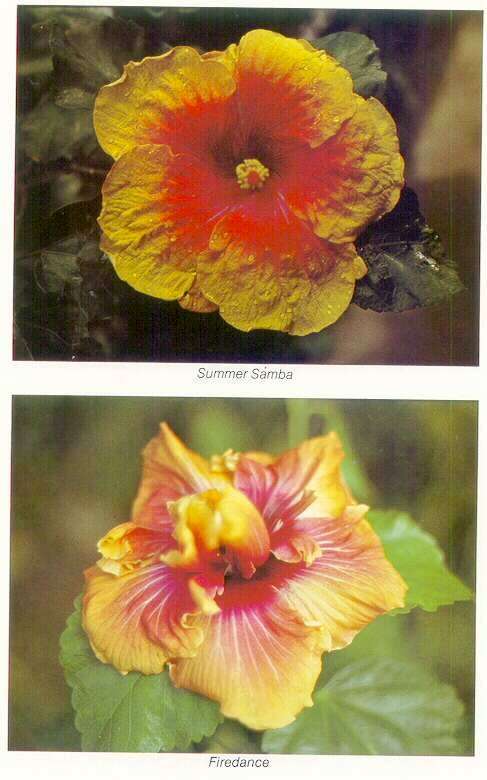
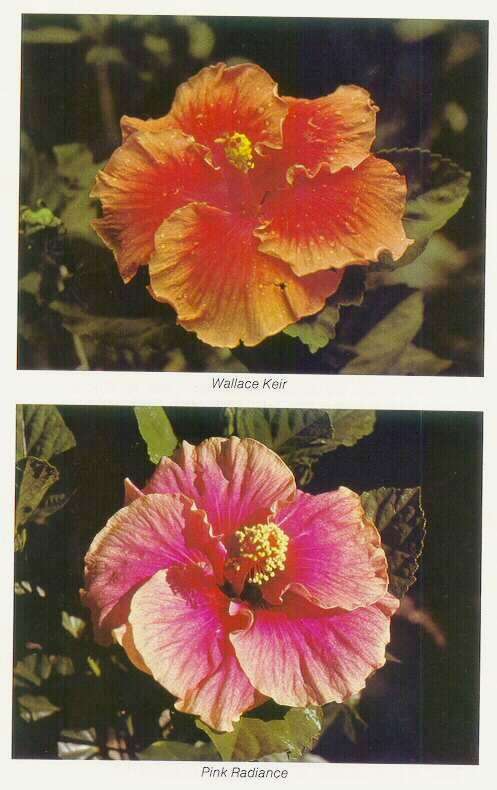
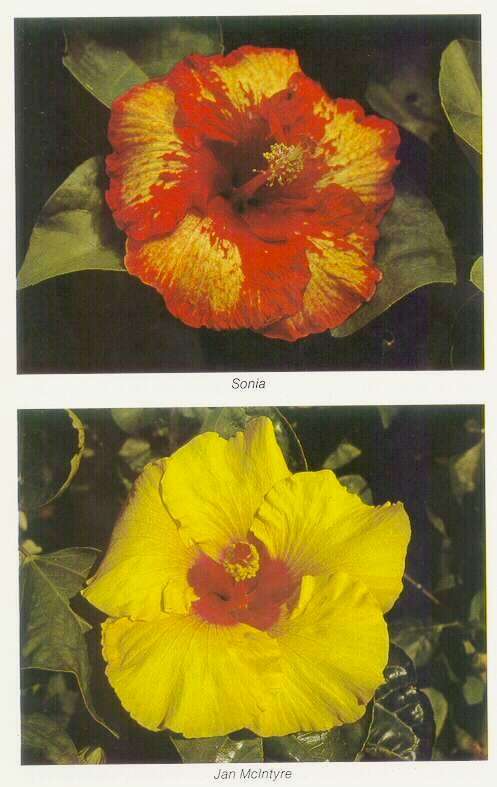
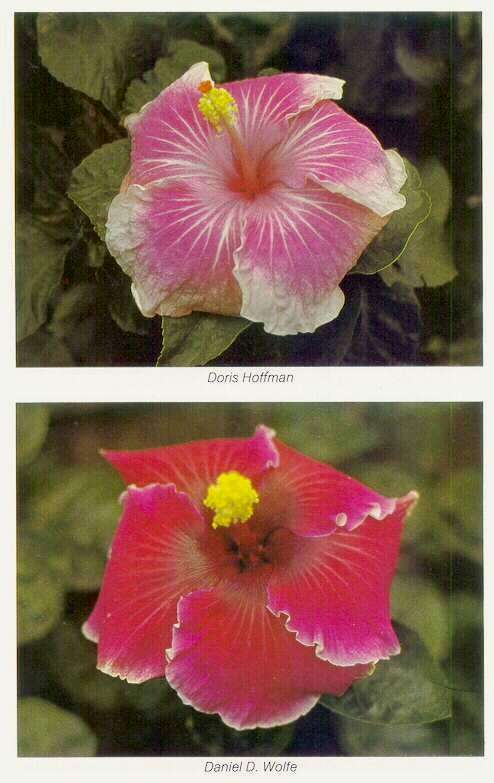
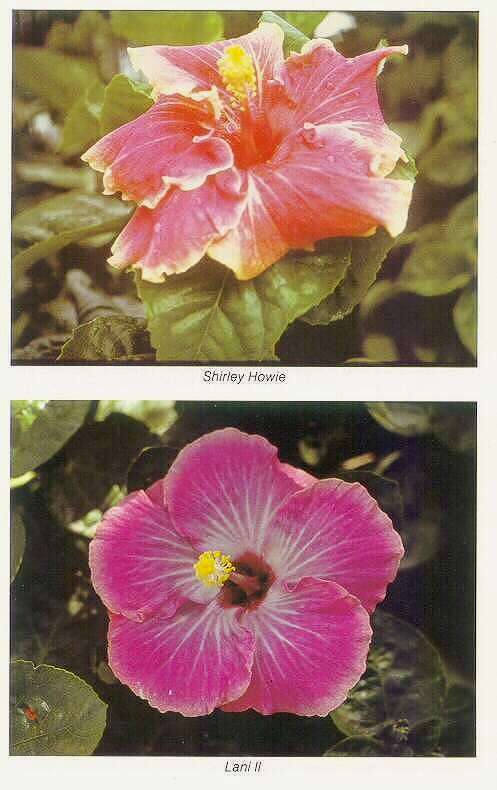
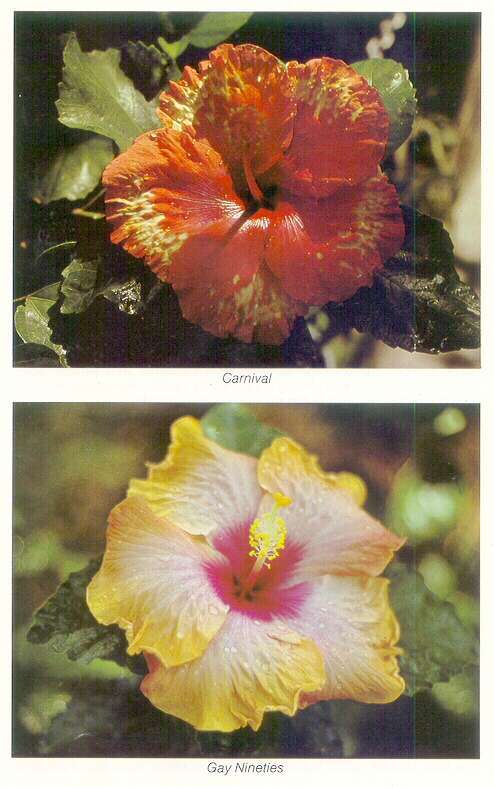
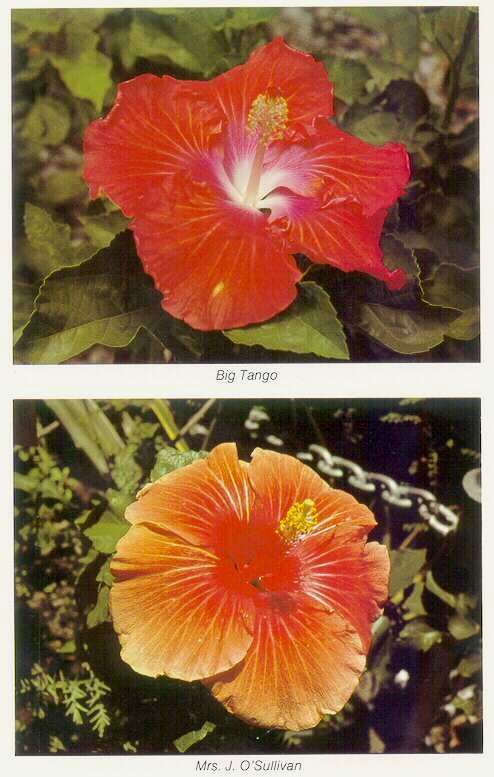
fertilizer intelligently and apply it properly. These are the COLOUR PLATES copied from the Book - 16 in all of 32 blooms
The Essential
Plant Nutrients The various nutrients play different roles in the growth and development of plants. Here are what some of the principal plant foods do: Nitrogen is the growth element. It is essential for the formation of protein and chlorophyll and is required for leaf and stem development. Nitrogen imparts a dark green colour to plants, but too much nitrogen results in excessive vegetative growth at the expense of flowering. Phosphorus is important in root formation, energy storage, and seed production. It promotes the rapid development of roots by young plants. Potassium is important for the formation of plant tissue and flowers, and it helps strengthen stem and leaf growth. Potassium acts as a general tonic and imparts increased vigour and disease resistance to plants. Magnesium is an essential part of the chlorophyll molecule. it is also important in seed production and aids in the absorption of other nutrients. Deficiency Symptoms Most of the major element deficiencies show up on the old or lower leaves of a plant, while minor element deficiencies are observed in the newer leaves toward the tips of twigs. If a complete balanced fertilizer is applied regularly, deficiencies of nitrogen, phosphorous, and potassium will be uncommon. Here are the most commonly seen nutritional deficiencies of hibiscus: Nitrogen: The mature leaves become chlorotic (yellowish). Leaves are evenly affected, including their veins, progressing from light green to yellow. Potassium: The older leaves become scorched (brown) at their tips and edges but otherwise remain green. Magnesium: The older leaves turn bronze yellow with green persisting at their tips and lower central vein areas. Iron: The young leaves turn a yellow or cream colour but their veins remain green. The leaves may be smaller than normal. Manganese: Similar to iron deficiency. The young leaves turn yellow-green while their veins remain dark, but the green areas along the veins and veinlets are wider than with iron deficiency and there is no reduction in leaf size. Zinc: The new leaves are small, closely-spaced, and pale or chlorotic, and they are often twisted to one side and crinkled in appearance. Molybdenum: Older and then younger leaves may become mottled. Younger leaves become long and leathery and may be curled or twisted. This is a condition known as "strap leaf" in which wide ieaves become narrow with their veins almost parallel, and blossoms may also be deformed. Moiybdenum deficiency will sometimes appear and disappear sporadically for reasons not yet known, the symptoms clearing up on their own without any special treatment. These symptoms are somewhat similar to those of herbicide (weed killer) damage and should not be confused with the distortion resulting therefrom. Understanding the Fertilizer
Label The analysis tells you the percentage by weight of nitrogen, phosphorus and potash in the fertilizer you buy. Analysis of a fertilizer appears on the bag or label as three numbers, such as 6-6-6, for example. The first number indicates the percentage of nitrogen (N), the second number gives the percentage of phosphorus (P), and the third number indicates the percentage of potassium (K). A complete fertilizer contains nitrogen, phosphorus, and potash, while an incomplete fertilizer contains one or two of these nutrients but not all three. Note that the term complete as applied to fertilizer does not mean that a product contains all the essential major and minor elements, but only that all three primary plant nutrients are present. A fertilizer may be complete and still be lacking other important nutrients such as magnesium, iron, or zinc. A balanced fertilizer, as the term is used here, contains nitrogen, phosphorus and potash, with nitrogen and potash present in about the same percentages while the percentage of phosphorus may be lower. Thus, a 6-6-6 or 7-2-7 fertilizer would be considered a complete balanced fertilizer. (Some people refer to a fertilizer as balanced only when all three primary nutrients are present in equal amounts.) Fertilizer ratio refers to the relative amounts of nitrogen, phosphorus and potash contained in the fertilizer. A 4-6-8 fertilizer contains 1 1/2 times as much phosphorus as nitrogen and twice as much potash as nitrogen, and it could therefore be called a 1-1 1/2-2 ratio fertilizer. Any other 1-1 1/2-2 ratio fertilizer, such as 6-9-1 2, would provide the same quantities of the three primary nutrients if the rate of application was adjusted properly. For example, 2 cups of 6-9-12 would provide the same amount of N,P, and K as 3 cups of 4-6-8. Thus, the 6-9-1 2 fertilizer is essentially the same as the 4-6-8, all other factors being equal, but each fertilizer would be used at a different rate. The fertilizer label contains valuable information. Unfortunately, the home gardener usually pays little attention to it. You should make it a practice to read the label when you shop for fertilizer. The purpose of the fertilizer label is to tell you what you are buying. You can select the fertilizer which is best for your plants only if you understand the information on the tag. Sources of nitrogen. The fertilizer label lists four forms of nitrogen which together make up the total nitrogen percentage in the fertilizer: nitrate nitrogen, ammoniacal nitrogen, water soluble organic nitrogen, and water insoluble nitrogen. Plants can absorb nitrogen in the nitrate and ammoniacal forms only. Nitrate nitrogen is easily leached out of the root zone of plants by heavy rains. Ammoniacal nitrogen is more resistant to leaching than nitrate nitrogen, but it is converted to the nitrate form fairly rapidly, in a period of two to four weeks, by bacteria in the soil. Ammoniacal nitrogen is preferred over nitrate nitrogen for hibiscus because of its greater resistance to leaching and because it seems to benefit flowering. Water soluble organic nitrogen changes to ammoniacal nitrogen within a few days after its application to the soil. For this reason, the water soluble organic nitrogen reported on the fertilizer label should be considered as the equivalent of ammoniacal nitrogen. The principal source of water soluble organic nitrogen is urea. Urea is not a natural organic but is synthetically made. Water insoluble nitrogen comes almost entirely from natural organic sources, such as seed meals, sewage sludge, and tankages. It must be converted to ammoniacal nitrogen by soil organisms before it can be used by plants, and the conversion takes place gradually. Because of its slow release properties and resistance to leaching, some water insoluble nitrogen is desirable in the fertilizer, even though this form of nitrogen is more expensive than the others. Phosphorus. Most plants, including hibiscus, do not require nearly as much phosphorus as nitrogen or potassium. Phosphorus applied to the soil will not leach out and remains available for a long period. Too much phosphorus, especially on alkaline soils, will tie up or render unavailable most minor elements, especially iron. Once this situation occurs it can take as long as 12 months to correct or lower the phosphorus level in the soil. For this reason, a fertilizer formula relativey low in phosphorus such as 7-2-7 is desirable. Potassium. Potassium is especially important for the production of good hibiscus blooms. Muriate of potash (KCl), also known as potassium chloride, is the cheapest source of potassium and is therefore frequently found in fertilizers, but it is undesirable because of its high chloride level. Sulphate of potash or sulphate of potash-magnesium are preferable sources of potassium. If magnesium deficiency occurs, magnesium sulphate (epsom salts) should be applied. Soil applications of magnesium will often have no immediate effect if the deficiency is severe. Spraying the foliage with a solution of 60 g (2 ounces) of magnesium sulphate per 4.5 L (1 gallon) of water may be helpful. Sulphur. There is usually enough sulphur present in the fertilizer and water which plants receive to satisfy their requirements for this major element. The sulphur may not be listed on the fertilizer label but it is supplied by many fertilizer materials, including sulphate of ammonia, sulphate of potash, etc. Sulphur may be listed as a secondary plant food if it is added in order to make an acid-forming fertilizer, but even if sulphur is not mentioned you do not have to worry about it. Calcium. If the pH of the soil is kept in the proper range, there should be enough calcium present for normal plant growth. If agricultural lime or dolomite is applied as needed to keep the pH of the soil above 5.5, you will not have to worry about calcium. Dolomite also contains magnesium, which is desirable. Trace Elements. It is advisable to have all soils analysed by an authority before adding any elements to the soil "just in case they may be lacking", as these elements can become toxic to plants if present in more than minute amounts in an available form. "in an available form" means - sometimes the elements are present in the requisite amounts, but in a form that makes them available to the plant. It is not much use adding more in such cases, but changing the pH of the soil can prove the answer. As an example, trace element deficiencies are often found in soil that has been limed too heavily. Adding more elements would have no effect as the lime would still make them unavailable. Increasing the acidity of the soil by adding sulphur will greatly increase the availability of all trace elements except molybdenum. Iron is one of the most abundant minerals found in the soil, but only a small amount of this is present in a form available to plants. Chlorophyll, the green colouring matter of plants must
have iron for its formation, as iron deficiency quickly
shows up by chlorosis or yellowing of the leaves as their
supply of chlorophyll is not forthcoming. Now this does
not mean there is no iron in the soil. There is probably
plenty for the plant's needs but lime has increased the
pH until insoluble iron hydroxide forms which is not
available to the plants. Once the soil is acidified by
adding sulphur, the iron becomes soluble and available to
the plant.
Trace Elements -
Do Hibiscus Need These? Citrus fruits are also good guides, as the fruit are dry and juiceless. To correct this soil deficiency of boron (assuming that it hasn't an alkaiine reaction), apply borax to the surface soil at the rate of 40 g to 10 m² (1 ounce to 10 sq. yards); the borax may be mixed with soil for ease of application, or spray the foliage with a borax solution, 30 g to 7 L (1 ounce to 1½ gallons) of water. Care must be taken in the quantity of borax used. Only use the quantities as indicated, otherwise injury or even death of the plant treated may occur. Remember, do not use foliage spray in the heat of the day. Molybdenum deficiency is described as being associated with hibiscus and is commonly called "Strap leaf". Affected leaves, though dark green .in colour are stunted and constricted laterally, veins are prominent and distorted. The flowers of affected plants do not open properly, and the petals are inclined to fuse together. Affected plants should be sprayed with a solution of Ammonium or Sodium Molybdate at the strength of 30 g to 27 L (1 ounce to 6 gallons) of water thoroughly wetting the leaves. Copper and zinc are also important trace elements. The specific effect of copper inplant metabolism is not known definitely but it has been demonstrated as being present in certain proteins having the character of enzymes. These enzymes aid certain chemical and growth processes. Copper does seem to promote the formation of Vitamin A. Copper deficiency causes leaves to become yellow and fall off and twigs to die back from the tips. Here again your citrus trees are good indicator plants. If the above phenomenon appears, your soil is generally copper deficient. Zinc deficiencies cause leaves to be small and bunched together in the form of a rosette and plants are dwarfed. To overcome the zinc deficiency plants should be sprayed with a solution of Zinc Sulphate and Hydrated Lime, 45 g (1½ ounces) Zinc Sulphate plus 20 g (¾ ounce) Hydrated Lime per 4.5 L (1 gallon) of water. This spray is best applied in the spring or early summer. Hibiscus are not usually deficient in zinc if the year's culture has been carried out. Leaf Sign Language
Choosing a
Fertilizer
Which
Fertilizers are Best The simplest approach to hibiscus fertilizing, obviously, is to use a single.formulation all year round. A complete balanced fertilizer such as 6-6-6 or 8-8-8 will give good results, but on alkaline sandy soils a fertilizer with slightly more potash than nitrogen may be better. If you can find it, a fertilizer low in phosphorus is much more desirable. The fertilizer you select should contain more ammoniacal than nitrate nitrogen, and at least 20% to 30% of the total nitrogen should be in the water insoluble form. The fertilizer should derive all its potassium from sources other than muriate of potash in order to keep its chlorine content as low as possible. A balanced mixture of nitrogen, phosphorus and potash will be inadequate unless it contains certain other essential elements, such as magnesium, manganese, copper, zinc, and iron. Magnesium is especially important and a fertilizer should contain at least 2-4% magnesium as MgO and smaller amounts of the minor elements. The use of a fertilizer containing the minor elements in the proper proportions will minimize the need for foliar sprays and minor element additives. GU 49 iron is desirable as one of the sources of iron. On alkaline soils an acid-forming fertilizer may be beneficial. Applying the Fertilizer How often to fertilize. Hibiscus should be fertilized frequently, at least once a month throughout the growing season, and the schedule should be kept up regularly. Heavy rains will leach nutrients out of the root zone of plants so it is recommended that fertilizer be applied somewhat more often during the growing season. Remember that numerous light applications of fertilizer are always better than a few heavy applications. How much fertilizer to apply depends upon a number of factors, including the size of the plants, the frequency of application, the time of the year, and the analysis of the fertilizer being used. If your plants are not flowering when they should be but are lush and dark green and are growing vigorously, you may be applying too much fertilizer high in nitrogen. On the other hand, if your plants are flowering but only poorly and are stunted and light green or yellowish, you may not be applying enough fertilizer. As a general rule, established hibiscus plants may each be given from 1/4 cup of fertilizer once a month, but small newly planted hibiscus should be given much less than this. If you use a high analysis fertilizer you should also apply proportionately less. Remember that plants need very little fertilizer in the winter months. How to apply. The fertilizer can be applied directly on top of the soil or mulch. It should be sprinkled evenly under and slightly beyond the spread of the branches, but it should be kept off the foliage and well away from the trunks of the plants. A good rule is to apply the fertilizer in a circle which extends from halfway in from the edge of the drip line to an equal distance beyond. Never apply fertilizer to dry soil. Be sure to water your hibiscus well before and after fertilizing to reduce the chance of burning your plants. Never depend on future rains. Salt burn. Too much fertilizer or inadequate watering when the fertilizer is applied may result in an accumulation of soluble salts in the soil, causing damage to roots and marginal or tip burn on the leaves. The symptoms of fertilizer burn are the same as those of drought, since plants cannot absorb water if excessive salts are present in the soil. Liquid Fertilizer Plants that are weakened due to disease or nematodes, transplanting or water or cold damage will benefit from liquid fertilizer applied to the foliage. Three foliar applications of a complete fertilizer one or two weeks apart should be sufficient. Correcting Minor Element
Deficiencies Iron deficiency is the most common minor element deficiency of hibiscus, although deficiencies of manganese, zinc, and molybdenum also occur fairly often. The symptoms of these deficiencies have been described earlier in this chapter. Boron and copper must be supplied as well, but chlorine is never lacking because of its presence in water and fertilizer. The symptoms of any minor element deficiency show up on the new or younger leaves of a plant. After the deficiency is corrected the new growth will be normal in appearance, the leaves which matured during the period of deficiency will retain their abnormal appearance but are no longer reason for concern. Effect of soil pH. Minor element deficiencies are much more common on alkaline than on acid soils. Nutrients may be present in the soil and yet unavailable to the plants, and the pH of the soil is an important factor in this matter. On alkaline soils, soil applications of certain minor elements will be relatively ineffective, and foliar applications may be essential for proper growth. Soil applications of iron are not usually effective unless the iron is applied in a form called GU 49 iron or iron chelates. Manganese, zinc, and copper can be effectively applied to acid soils, but these three essential elements must be supplied by means of foliar applications if the plants are growing in alkaline or neutral soils. Boron and molybdenum can be effectively applied to soils over a wide range of pH. All the minor elements can be applied, if desired, by spraying the foliage. Foliar sprays are quicker acting but do not last as long as soil applications of the minor elements. Acid soils. Most garden fertilizers contain small quantities of the minor elements, and on acid soils regular applications of such a fertilizer should satisfy the needs of hibiscus plants. Suitable levels of minor elements in a fertilizer would be 1 % iron and manganese, 0.5% zinc, 0.2% copper, and 0.1% boron. (Plants require so little molybdenum that its application will seldom be necessary.) These figures are general guide lines only; the amounts may vary and the fertilizer still be perfectly satisfactory. If it is determined that supplemental soil applications of minor elements are needed, several good formulations containing all these minerals (plus magnesium) in the proper proportions are commercially available, (e.g. Esminel or other frittered trace element mixtures). Some growers recommend spraying the foliage occasionally with a general purpose minor element solution during the growing season, and supplemental applications of GU 49 iron or chelated iron one or more times a year may be beneficial. Alkaline soils. In order to correct and avoid deficiency problems on alkaline soils, it will probably be necessary to apply GU 49 iron or chelated iron occasionally and to spray the foliage regularly with a minor element solution which is high in iron and manganese and contains smaller but substantial amounts of zinc and copper. Spray with each new flush of growth or every 8 weeks during the spring and summer when the plants are rapidly growing. It is important to spray the underside of the leaves as well as their tops. A small quantity of spreader-sticker or liquid dish detergent one-quarter teaspoon per 4.5 L (1 gallon) added to the spray solution will help to ensure good coverage of the leaf surfaces. Minor element nutritional sprays are available as liquids and as dry soluble powders. Care should be used in applying these sprays, for they will permanently stain paint or concrete. When applying nutritional sprays, do not exceed the manufacturer's recommendation as to the amount to be used or you will risk injury to your plants. You can minimize minor element deficiencies on alkaline soils by planting your hibiscus properly. Dig a large hole and mix large amounts of organic materials such as peat, manure, or compost into the original soil. This will tend to acidify the soil in which the plant roots are growing. The regular use of an acid-forming fertilizer may also be helpful. Correcting specific deficiencies. An experienced person will sometimes recognize specific minor element deficiencies and treat them separately. Use of the following materials is recommended: Iron deficiency: Use chelated iron or GU 49 iron. Manganese deficiency: Use manganese sulphate. Apply 1/4 to 1 cup per plant twice a year until the deficiency is corrected, or spray with a solution of 30 g (1 ounce) of manganese sulphate plus one teaspoon of hydrated lime in 9 litres (2 gallons) of water. Zinc deficiency: Apply zinc sulphate. On alkaline soils spray with a solution of 30 g (1 ounce) of zinc sulphate plus 10 g (l/3 ounce) of hydrated lime in 9 litres (2 gallons) of water. Copper deficiency: Use copper sulphate. For a foliar spray, dissolve 30 g (1 ounce) of copper sulphate plus 10 g (l/3 ounce) of hydrated lime in 9litres (2 gallons) of water. Copper sulphate alone will burn the foliage. Boron deficiency: Apply borax, 30 g per 9 m² (1 ounce per 100 square feet) or use solubor. Molybdenum deficiency: Use very small amounts of sodium molybdate. Potassium for Quality Blooms The use of potassium sulphate in small quantities is an effective means of building up potassium levels to the proper proportions for the highest quality blooms. One method of getting hibiscus to produce good blooms is to alternate the regular fertilizer with potassium sulphate every two weeks during the growing season. Use potassium sulphate at the rate of ½ cup approximately 120 g (4 ounces) to 22.5 L (5 gallons) of water, and apply one cup of this solution to each mature plant. If all this seems complicated, remember that many
growers use a single balanced fertilizer all year round
and produce fine quality blooms. Expert growers may
differ in their methods of fertilizing, but they all
agree that the key to success with hibiscus is to
fertilize lightly and often.
Fertilizing
Container Grown Plants The commercial fertilizers which are sold for use on house plants and potted plants are also suitable for container grown hibiscus, provided that they contain magnesium and small amounts of the minor elements in addition to the three primary nutrients. Hibiscus in pots are susceptible to residue salt burning if they are not watered properly, due to the accumulation of salts from both fertilizer and water. To avoid burning your plants in containers, water them heavily, so that some water comes through the drainage holes and leaches out any excess salts, and be sure to water well after each application of fertilizer. Container grown plants may benefit, just the same as garden plants, from periodic spraying with minor element solutions and occasional applications of GU 49 iron or iron chelates. Compost and Manure Well drained sandy soils are generally low in fertility and dry out quickly. The addition of organic matter will increase a soil's fertility by providing a favourable environment for beneficial food manufacturing micro-organisms and by reducing the loss of plant nutrients due to leaching. The ability of the soil to hold water will also be greatly increased by the addition of humus. Organic matter decomposes rapidly and ultimately disappears completely in well drained sandy soils. Thus, it may be necessary to add organic materials each month to maintain a good quality soil. The use of an organic mulch such as decomposed or weathered cypress or pine bark helps to keep an adequate level of humus in the soil. Animal manures such as cow, sheep, horse, or chicken provide excellent organic materials for the hibiscus grower. Composting improves all manures. Inter-layering about 15-20 cm (6-8 in) of manure with 5 cm (2 in) of soil into a pile several feet high, maintained in a moist condition for 6 to 8 weeks, makes an excellent product when the pile is mixed for usage. Although manures are used primarily for their soil conditioning value, they are useful also as fertilizer materials, especially for newly transplanted hibiscus which require frequent watering. Manures, sewage sludges, and mature composts can be mixed directly with the soil before setting in plants. The nutrients in these materials resist leaching and are released slowly, so there is little risk of burning the plants. The exception is unleached chicken manure, which is quite high in rapidly available nutrients and which requires careful usage to avoid injury to plants. The compost pile makes use of kitchen and garden waste and is a valuable source of organic material for the hibiscus grower. It may be started at any time of the year. The compost heap needs some kind of container with vertical sides, whether of boards or wire fencing supported by stakes. Maintaining two small piles serves the purpose better than one very large pile. To start the compost heap, build a 15-30 cm (6-8 in) layer of fresh organic materials such as leaves, grass clippings, plant prunings, natural ashes of wood or charcoal (not from the incinerator because of the kerosine factor) and kitchen wastes such as coffee grounds and egg shells. Weeds with ripe seeds, resinous plant material, greasy animal fats, and diseased plants should be avoided. Animal manures and certain fruit and vegetable wastes could draw flies and should be covered or buried within the pile. Fertilizer added from layer to layer as the pile builds will hasten the decomposition process. Sprinkle about two cups of a complete fertilizer over the compost and water thoroughly. You can, if you wish, add a 2-5 cm (1-2 in) layer of topsoil and a handful of dolomite in addition to the fertilizer. Keep repeating this layering until the pile fills the bin. Air and moisture are important to the decomposition process, so turn the material occasionally with a spade and water frequently, keeping the pile moist but not water logged. A coarse screen chimney can be placed vertically in the centre to ensure better aeration, or the heap can be ventilated by pushing a rake handle down through it in several places. The compost will be ready to be spaded onto the garden soil within 2 to 6 months, depending on the waste materials used and the time of the year. Succulent green materials will decay faster than dry ripened growth, and the compost will break down faster in the summer than in the winter. The final product, when the original waste materials have decomposed to the point when they are no longer recognisable for what they were, is humus. One good way to maintain a steady supply of mature compost is to build a series of three connecting bins, 90 cm, 60 cm, and 30 cm (3 feet, 2 feet and 1 foot) in height. Begin the composting process in the tallest bin. In six weeks, blend the compost and transfer it to the 60 cm (2 ft) bin and start another pile in the tall bin. The compost will reduce in volume as it breaks down. In another six weeks, transfer the material from the middle bin to the 30 cm (1 ft) bin, where it can be stored until needed. |
|||||||||||||||||||||||||||||||||||||||||||||||||||